How Plush Toys Are Made: Custom Plush Manufacturing Process
How are plushies made? A factory turns artwork into a three-dimensional sewing pattern, selects fabric and filling, and makes a physical sample. Once the buyer approves that sample, the factory cuts the production fabric, adds embroidered or printed details, sews the pieces into shells, fills and shapes them, then inspects and packs the finished toys.
For a custom order, sample approval is the turning point. The approved plush gives the production team a physical reference for its proportions, expression, materials, softness and details. The steps below show how that reference becomes a repeatable product.
| Stage | What happens | What the buyer should confirm |
|---|---|---|
| Product brief | Artwork, size, quantity, market and features are reviewed | Character details and intended use |
| Pattern and materials | Flat fabric pieces and construction methods are planned | Shape, fabric, colors and filling |
| Prototype | One physical plush is made and revised | Appearance, feel, dimensions and accessories |
| Production preparation | Approved specifications and materials are organized | Final sample and packaging details |
| Cutting and decoration | Fabric is cut; embroidery or printing is applied | Color and detail placement |
| Sewing and filling | Panels become a shell, then a shaped plush | Seams, posture and firmness |
| Inspection and packing | Finished toys are checked and packed | Product and carton requirements |
1. Turn the Artwork Into a Product Brief
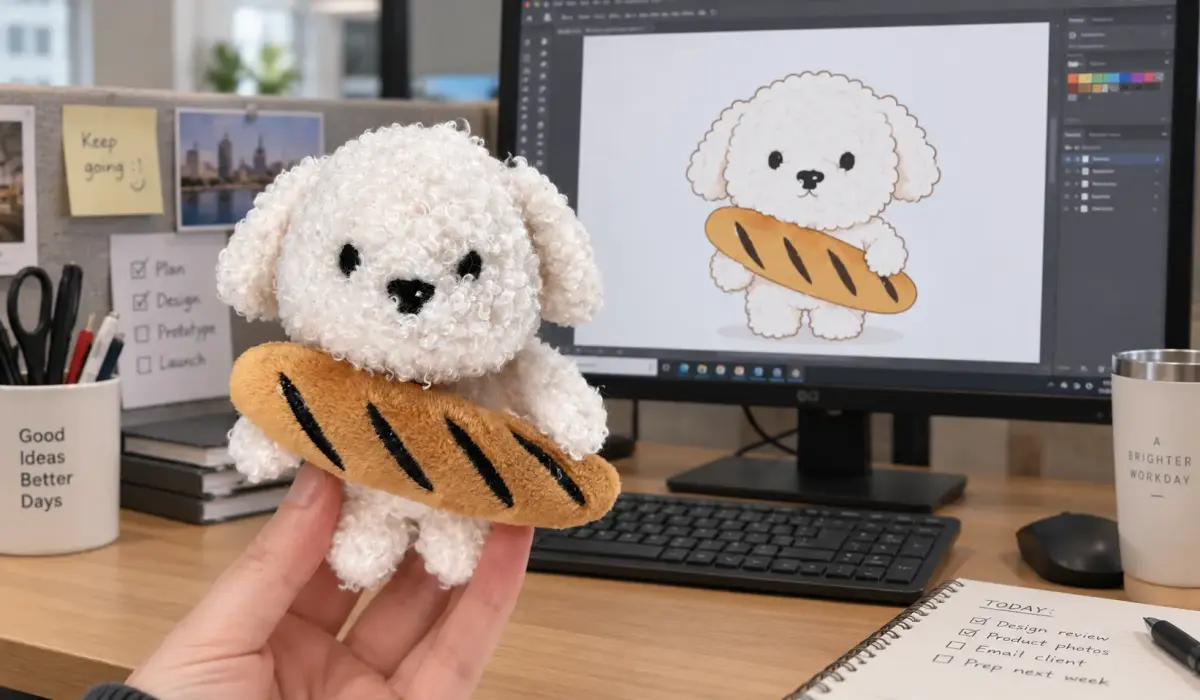
A custom plush project may begin with a character drawing, several reference views, an existing toy, or a written concept. Before making a pattern, the development team needs to establish what the finished product should be.
The brief should define the target dimensions, body proportions, posture, fabric feel, colors and important character features. It should also cover clothing, accessories, labels, packaging, intended age group and destination market.
This review identifies details that need adapting for soft construction. A narrow arm may be difficult to fill evenly. A sharp corner in an illustration will become softer when sewn and stuffed. A tiny facial mark may need embroidery or printing rather than a separate fabric piece.
Front, side and back views make these decisions easier. When only a front view exists, the shape of the sides and back must be resolved during development.
2. Make a Pattern That Turns 2D Artwork Into a 3D Plush
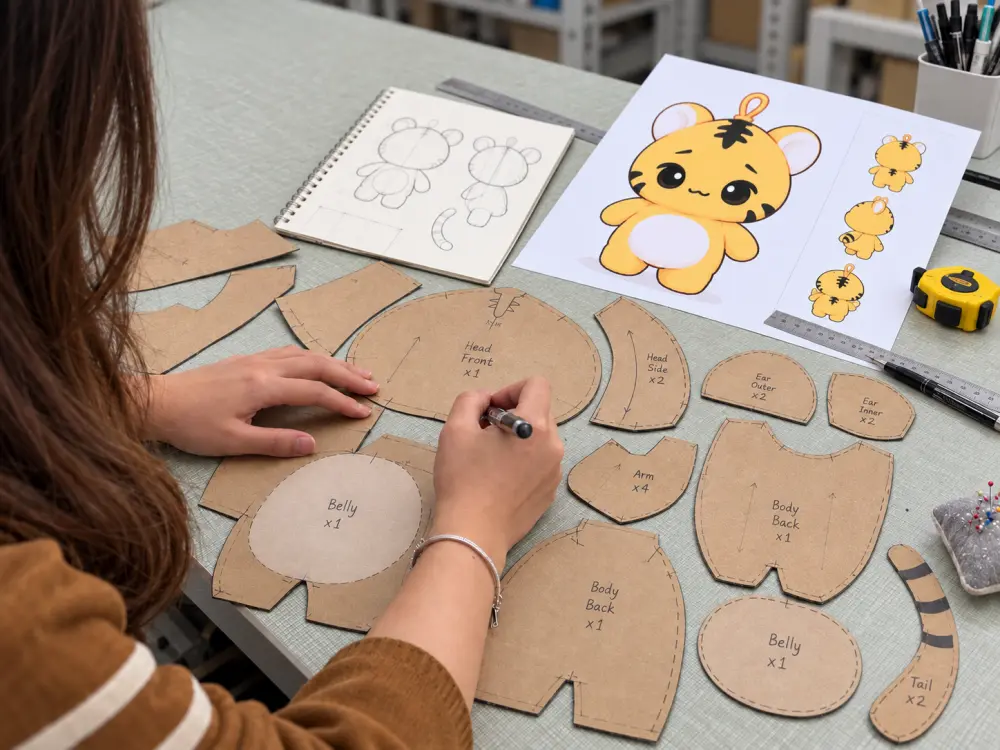
Pattern making is the structural step in plush manufacturing. A pattern divides the character into flat fabric panels that form its head, body, limbs, ears, tail and other features when sewn together.
Each panel needs a defined shape and sewing position. The pattern maker also considers seam placement, fabric direction and the opening used to turn and fill the shell. A change to the curve of a head panel can alter the finished facial expression; a change to a body panel can affect whether the plush sits or stands as intended.
This is why a drawing cannot simply be printed onto fabric and sewn around its outline. The pattern must account for the volume created by filling and for how the chosen fabric stretches and folds.
3. Select Fabric, Filling and Components
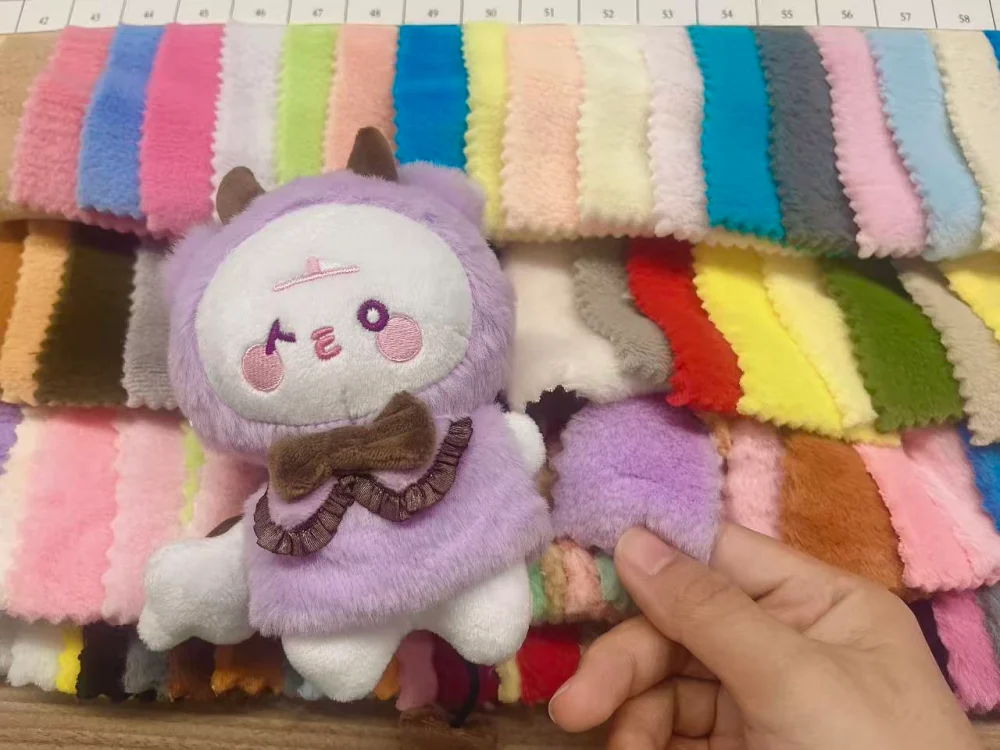
Material choice affects both appearance and construction. Common outer materials include minky, velboa, fleece and faux fur. They differ in surface texture, pile length, stretch and the way they show embroidery or seams.
For example, a long pile can give an animal a fluffy appearance but may obscure small facial details. A short pile makes fine features easier to see. The direction of the pile also matters: panels cut in different directions can appear to have different shades even when they come from the same fabric.
The development team also specifies the filling and any additional components, such as sewn labels, clothing, keychain hardware or sound modules. Filling amount affects softness, shape and balance. For a character intended to sit upright, those qualities need to be assessed on a physical sample.
At Plushies4u, material and construction choices are reviewed alongside the artwork before sampling. The factory supports customization of fabrics, filling, embroidery, printing, accessories, labels and packaging through its OEM and ODM development process.
4. Build and Approve a Physical Prototype
The first prototype brings the pattern, materials and character details together. It reveals issues that are difficult to judge from drawings alone: a head may lean forward, an ear may sit at the wrong angle, or filling may change the intended expression.
The buyer should review the sample for:
- Overall shape and dimensions
- Facial expression and symmetry
- Fabric color and feel
- Embroidery or print placement
- Softness and posture
- Clothing and accessory fit
- Labels and packaging fit
Revisions may involve changing a pattern piece, adjusting embroidery placement, selecting another fabric or changing the filling level. Once the details are accepted, the approved sample becomes the production reference. The written specification should record the approved materials, dimensions, colors and construction details alongside it.
5. Prepare Materials and Cut the Fabric
After sample approval, the factory prepares the required fabric, filling, threads, labels and accessories for the production order. Incoming materials are checked against the approved requirements before they enter production.
The approved pattern guides fabric cutting. Cutting accuracy matters because inconsistent panels can produce toys with different head shapes, limb lengths or body proportions. Pile direction must also be controlled so corresponding panels have the intended appearance.
Cut pieces are then organized for the next operations. Depending on the design, a panel may receive embroidery or printing before it is sewn into the body.
6. Add Embroidery, Printing and Other Details
Eyes, mouths, logos and decorative marks are commonly added while the relevant fabric panels are still flat. This makes it easier to position the detail accurately and keep it clear of seams.
The selected method depends on the design:
| Method | Common use | Detail to check on the sample |
|---|---|---|
| Embroidery | Eyes, facial features, logos and text | Position, size and clarity on the chosen fabric |
| Printing | Complex graphics or repeated surface patterns | Color and appearance on the actual fabric |
| Appliqué | Separate fabric shapes such as belly or paw details | Edge finish and placement |
| Sewn component | Ears, tails, clothing and accessories | Attachment and finished shape |
Some details are attached later in assembly. Their order of application should be settled during sampling, especially when a seam or filled curve could affect placement.
7. Sew the Shell, Then Fill and Shape It
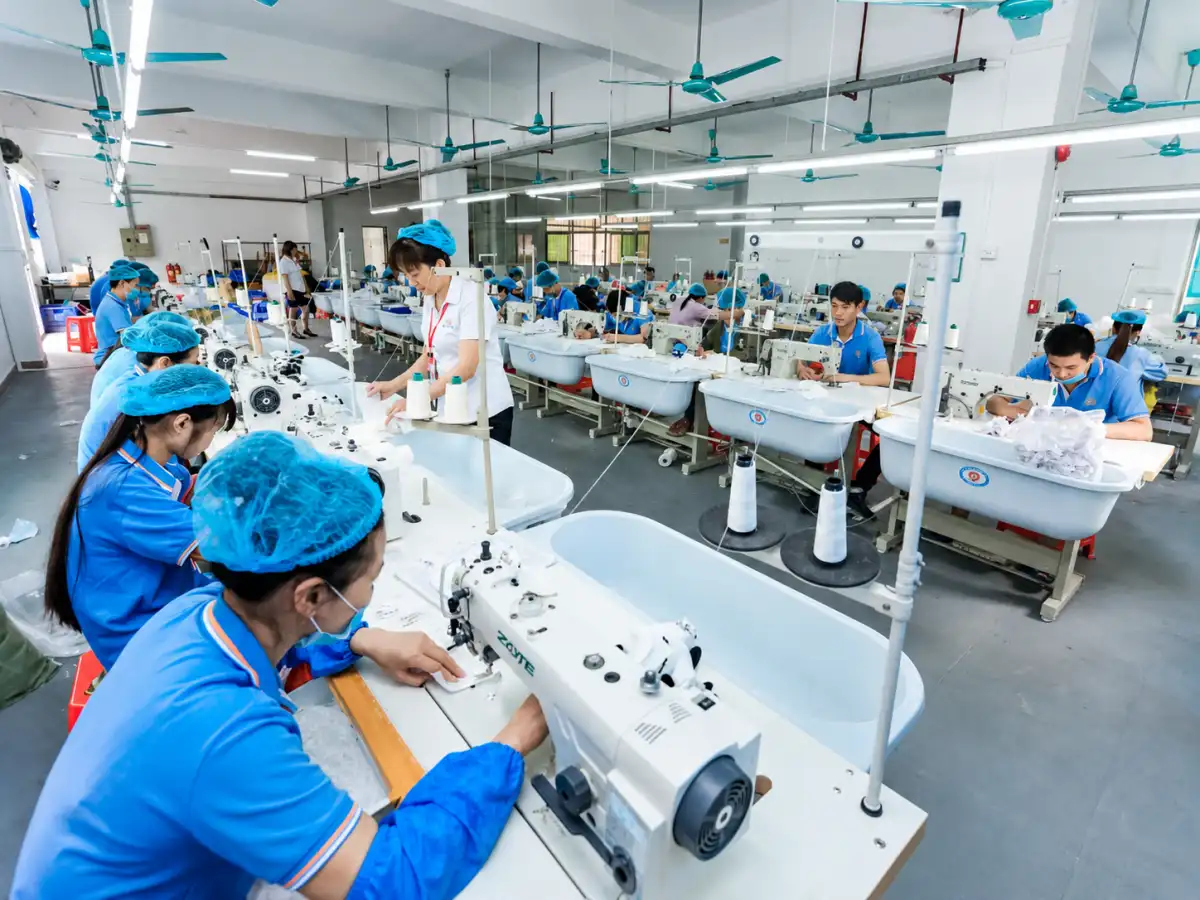
Sewing joins the cut panels into a three-dimensional shell. The production team follows the planned assembly order for the head, body, limbs and other parts, leaving an opening for turning and filling.
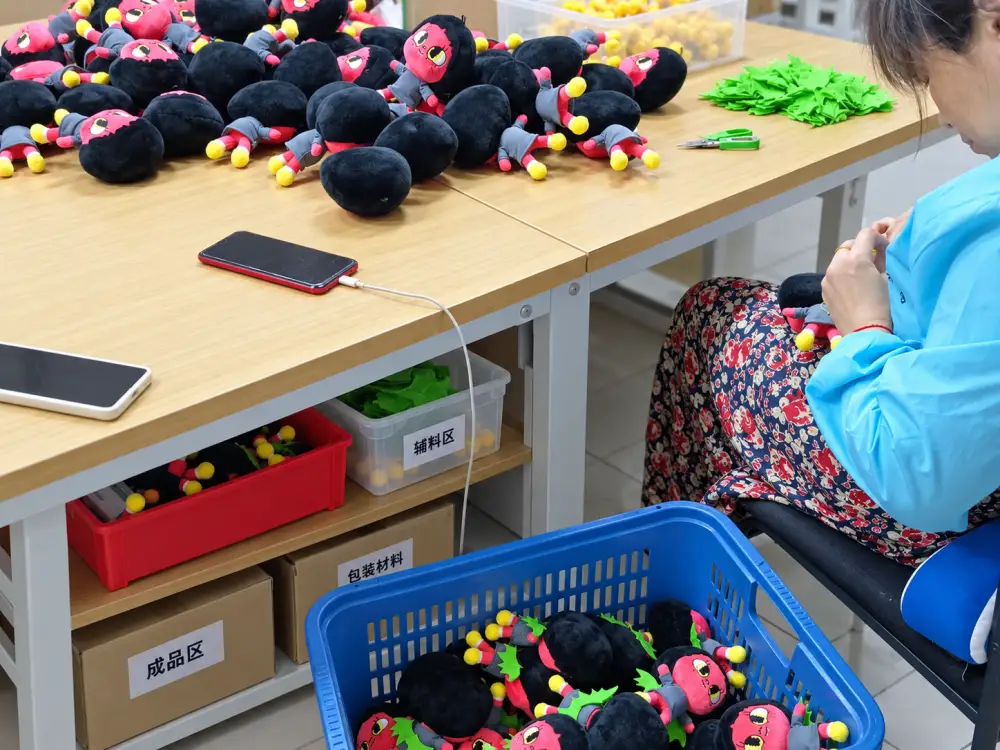
The shell is turned so the finished fabric surface faces outward. Filling is added and distributed to form the approved shape. Workers may adjust the head, limbs and body by hand so the toy has the intended posture and softness. The filling opening is then closed, and remaining threads are trimmed.
Commercial plush manufacturing combines equipment and skilled manual work. Machines help with repeatable cutting, embroidery and sewing; shaping and final detail work still require hands-on judgment.
8. Check Quality Throughout Production
Quality control begins before the toy is finished. Checking only the packed product can reveal a problem after many units have already passed through the same operation.
Plushies4u describes three stages of production checks:
| Checkpoint | What is reviewed |
|---|---|
| Incoming materials | Fabric condition and color, filling and accessories |
| During production | Sewing accuracy, shape, stitching, embroidery and assembly |
| Finished product | Appearance, dimensions, workmanship, details and packaging condition |
The approved sample gives inspectors a reference for the intended product. Written specifications help them check details that may be harder to judge by appearance alone.
Safety assessment is a separate part of preparing a toy for its destination market. In the United States, ASTM F963 forms part of the mandatory toy safety framework; toys intended primarily for children aged 12 or younger generally require applicable third-party testing and a Children’s Product Certificate. The standard includes a seam-performance requirement for stuffed toys. US Consumer Product Safety Commission
Toys sold in the European Union must meet applicable toy safety requirements and carry CE marking. The appropriate assessment depends on the finished design and its materials. European Commission toy-safety guidance
Testing requirements should be identified while the product is being developed. Changes to accessories, materials or intended age group can affect what needs to be assessed.
9. Label, Pack and Prepare the Order for Shipment
Once finished toys pass inspection, they receive the agreed labels, hangtags and packaging. A project may call for an individual bag, a retail box, or another presentation suited to its sales channel. The packed units are placed in export cartons and prepared for shipment.
Packaging instructions need to be confirmed before production. Carton quantity, labeling and retail presentation affect how the finished order is handled, stored and delivered.
How Long Does Plush Toy Manufacturing Take?
A production schedule contains several stages: design review, pattern making, prototype development, buyer revisions, material preparation, bulk production, testing where required, inspection and shipment. Their duration changes with design complexity, material availability, order quantity and the speed of sample approval.
For planning purposes, separate sample approval time from bulk production time. A late change to the approved shape or material may affect both. Buyers with a launch date should share it at the start of development so the factory can assess the full schedule, including packaging and delivery.
Are Factory-Made Plushies Handmade?
Factory-made plush toys use both machines and handwork. Sewing and embroidery equipment help repeat approved details across an order. People still develop patterns, review samples, guide curved pieces through sewing, distribute filling, shape products and inspect finished toys.
The key difference from making one handmade plush is repeatability. Bulk production uses an approved sample and documented specifications so the design can be reproduced consistently across the order.
From Artwork to a Production-Ready Plush
Plushies4u supports custom plush development from artwork or product concepts through sampling, bulk manufacturing, inspection and packaging. Its commercial orders start from 500 pieces. The factory’s pattern making, sewing, embroidery, filling and quality teams work from approved product details to produce custom plush for brands, retailers, IP owners and promotional programs.
To explore how your character could be made, send its artwork or reference images, target size, estimated quantity, intended market and packaging needs through the Plushies4u project inquiry page.